Testing the Final Result
Now that you've written the template, it's easy to test it out in CodeSmith Studio. First you'll need to compile the template, so that CodeSmith will display the right properties in the Properties Window. Click the Build button on the toolbar or press Ctrl+Shift+B to do this. Assuming that there are no errors in the template, you'll see progress messages in the Output Window:
-------------- Compile started --------------
Build complete -- 0 errors, 0 warnings
---------------------- Done ---------------------
Build succeeded
If there are any errors in the template, they'll display in the Output Window. You can double-click on the error messages to jump straight to the line of code with the problem.
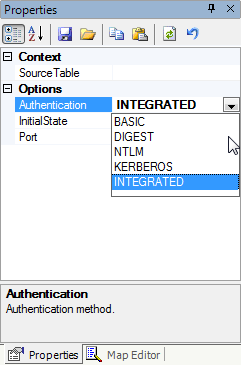
Now you can use the Properties Window to enter values for the template's properties. For the three enumerated properties, you'll find that CodeSmith provides dropdown lists to choose from.
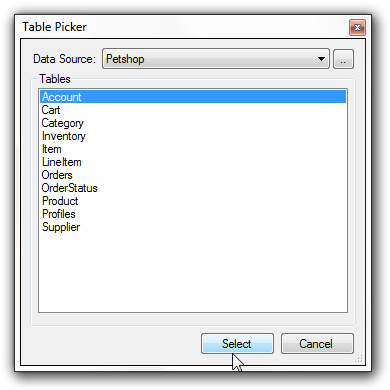
To set the SourceTable property, click in the property value. CodeSmith will display a builder button with three dots. Click the builder button to open the Table Picker dialog box.
Here you can select the data source, and the table within that data source, to use with the template. You can also click the builder button next to the Data Source combo box to create new data sources. After choosing a table, click the Select button to return to CodeSmith Studio.
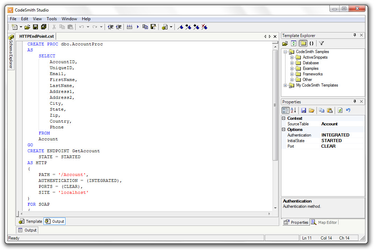
When you're done setting properties, click the Run toolbar button or press F5 to run the template. CodeSmith will generate the template's output and switch to the Output tab so that you can save or copy the output.


