Using Schema Explorer
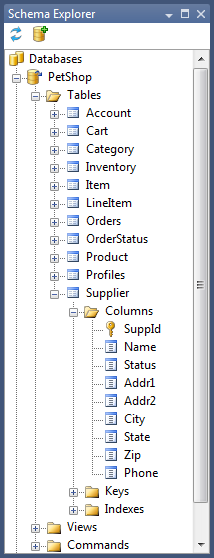
Schema Explorer provides an easy and graphical way to explore the schema of databases. This gives you the ability to manage extended properties or retrieve the names of tables, views, commands, and their components.
Opening Schema Explorer
You can open Schema Explorer by selecting Schema Explorer from the Generator menu.
Adding a new database connection
The following steps will show you how to add a new database to Schema Explorer.
The first step is to click the Manage Data Sources button as highlighted in green.
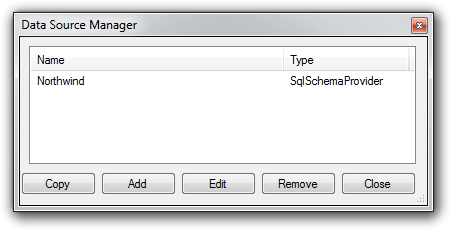
This will open the Data Source Manager dialog box.
Next, click the Add button to open the Data Source dialog box.
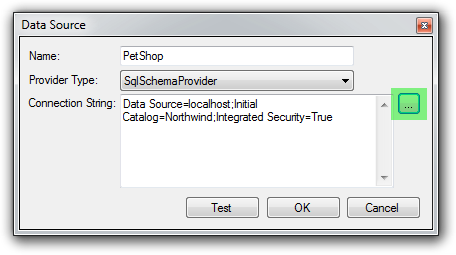
Next, enter a name for the new data source, select an appropriate provider, and enter a connection string.
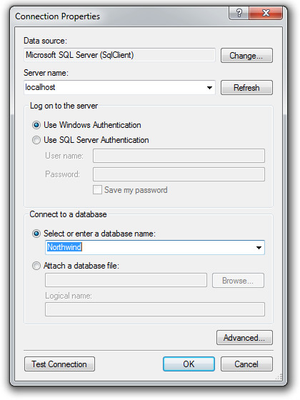
If a connection string designer is available, the ellipsis button (...) highlighted above in green will be enabled. If it is not, you will have to manually enter in a connection string.
The above image shows the SQL Server Connection String Editor.
Finally, you can click the OK button to create the newly defined database and click the close button to close the Data Source Manager.


